
Shopping Cart
Apply spray tan base coat like a pro: preparation and technique


Getting a truly flawless spray tan comes down to mastering the application of your spray tan base coat. This comprehensive guide will walk you through the exact steps, techniques, and aftercare you need for professional-level results. Whether you're getting ready for a bodybuilding competition or just want to enhance your physique, applying your base coat correctly is what guarantees even coverage, prevents streaks, and delivers maximum color depth for that perfect, stage-ready look.
Essential Skin Preparation Before Spray Tan Application
A successful spray tanning session begins long before the product touches your skin. Thorough skin preparation is the key factor in whether you end up with a beautifully even tan or a disappointingly patchy one. When your skin is clean and properly exfoliated, it absorbs the tanning solution evenly. This prevents the dark spots and uneven patches that could ruin your competition appearance.
Exfoliation and Hair Removal Timing for Best Results
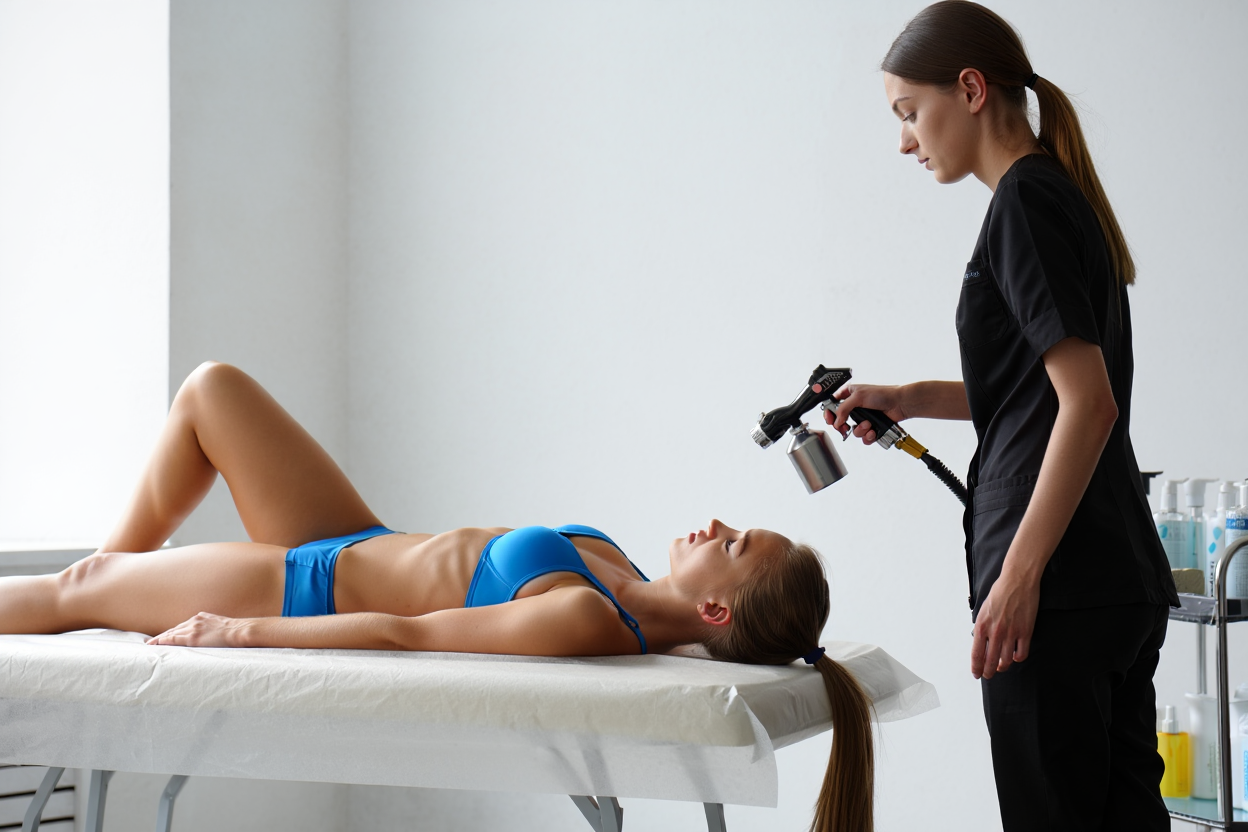
For the best results, you should exfoliate your skin 24 to 48 hours before your spray tan appointment. Use a gentle scrub, loofah, or exfoliating glove to effectively remove dead skin cells. This step is a crucial part of your skin preparation because leftover dead skin creates a barrier that traps the solution unevenly. Proper exfoliation before your spray tan ensures the base coat makes contact with fresh, receptive skin, allowing for a consistent color absorption across your entire body.
- Gentle exfoliation method: Use a mild scrub with soft, circular motions to avoid irritating your skin before the application.
- Hair removal timing: Shave or trim body hair at least 12 hours in advance. This reduces friction and significantly improves how well the tanning solution is absorbed.
- Avoid harsh scrubbing: Aggressive exfoliation can damage your skin’s protective barrier and ultimately lead to an uneven tan.
- Complete hair removal: Hair strands can trap the tanning solution, which often results in streaks and dark spots that are very difficult to fix later.
Be sure to schedule any hair removal well ahead of your application day. The combination of freshly shaved skin and careful exfoliation creates the ideal clean surface for an even base coat absorption and smooth color distribution.
Moisturizing Dry Areas Without Blocking Tan Absorption
After you exfoliate, it’s important to moisturize only the extremely dry areas, such as your elbows, knees, ankles, and heels. Make sure the lotion is fully absorbed into the skin well before your spray tan appointment. Since exfoliation before a spray tan tends to dry out these high-friction zones, this targeted moisturizing helps prevent them from absorbing too much of the tanning solution.
Apply a lightweight, oil-free moisturizer strictly to these problem areas, avoiding the rest of your body. This focused approach stops the lotion from creating barriers on healthy skin while protecting vulnerable spots from taking on too much color. It’s a good idea to test any new moisturizer 24 hours prior to your appointment to ensure it doesn’t cause any irritation or allergic reactions.
Day-of Preparation to Avoid Streaks and Patches
On the day of your spray tan appointment, take a quick, mild shower and then pat your skin completely dry. Any leftover moisture can cause the solution to absorb unevenly, leading to unwanted streaking. You must also avoid all oil-based products, deodorants, perfumes, and regular soaps, as these can create barriers that prevent the tanning solution from reacting properly with your skin cells.
Right before the spraying begins, remove all makeup, moisturizers, and deodorant. These products can leave behind white spots and patches because the tanning solution can’t penetrate through them. Tie long hair away from your face and shoulders, and consider applying a clear nail polish to protect your nails from discoloration. This ensures your skin is completely clean and prepared for the best possible results.
To truly master the spray tan technique, you need to understand proper application methods, smart ways to divide the body, and the right motions to use. A flawless base coat application comes from systematic coverage and extra care in areas that soak up more color. Learning how to correctly apply your spray tan base coat is the secret to achieving that competition-ready look.
Step-by-step technique for flawless base coat application
What sets apart an amateur result from a professional, competition-level finish is a proper spray tan technique. The right spraying distance, a steady motion, and a logical division of the body lead to even coverage—no streaks or dark patches. While perfecting your spray tan technique takes practice, sticking to proven steps will vastly improve your outcome.
Proper spraying distance and motion for even coverage
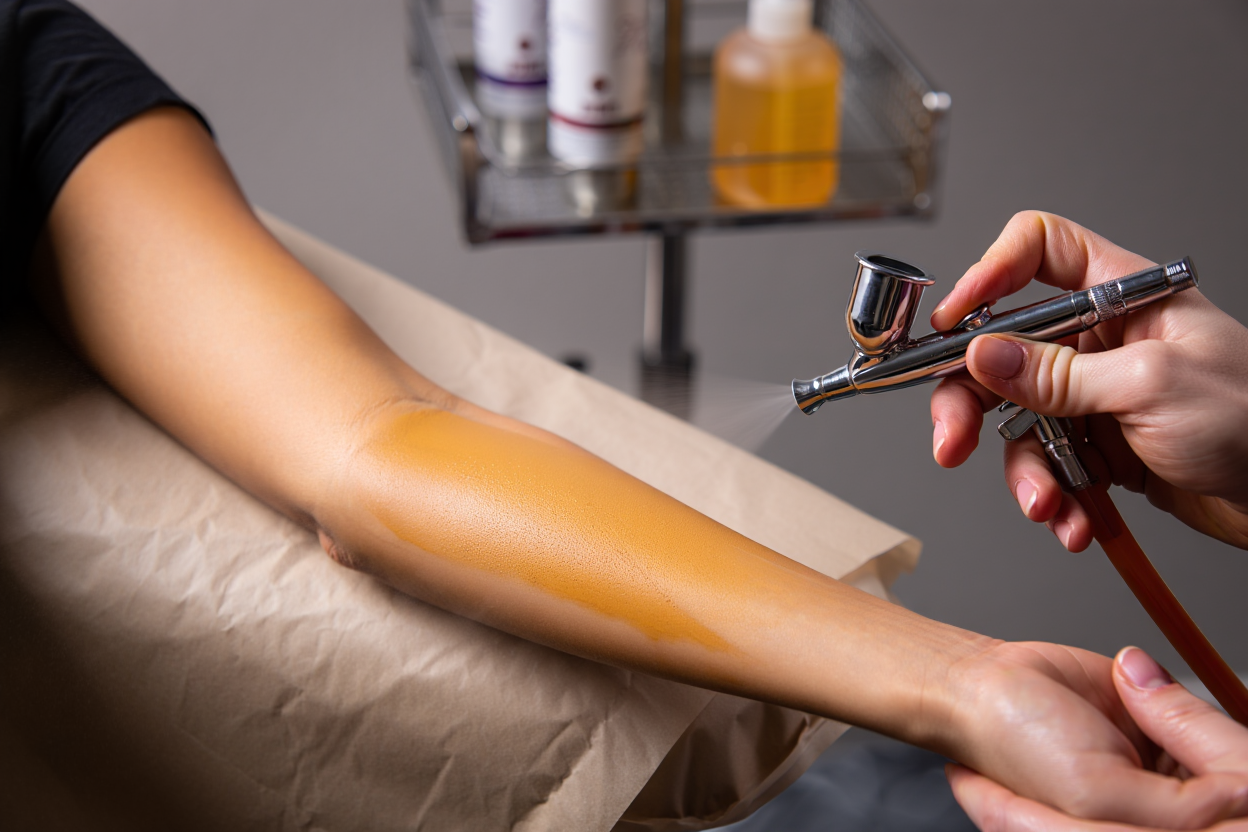
Keep your spray gun or applicator 6–8 inches (15–20 cm) from your skin, using steady, overlapping motions. This spray tan technique ensures the product goes on evenly and prevents drips or pooling. Always keep the motion fluid—never hold still in one spot, as pausing can cause buildup and dark patches.
For large body areas, use circular or back-and-forth motions to blend the solution seamlessly. Maintain a consistent hand speed and focus on thin, even layers rather than heavy coats. Several light passes help you build color gradually and avoid uneven drying.
Sectioning the body and working systematically upward
Break your body into manageable parts: feet, legs, thighs, buttocks, stomach, chest, back, shoulders, and arms. This structured base coat application prevents missed spots and keeps coverage uniform. Begin at the ankles and move upward with long vertical strokes, slightly overlapping each section for a seamless blend.
- Ankle and foot application: Use light, feathered strokes so the darker leg color naturally lightens toward the feet.
- Leg coverage: Apply with vertical strokes and blend gently around the knees using small circles to avoid dark patches.
- Torso sectioning: Split the front into chest and abdomen, overlapping your strokes for even product distribution.
- Back assistance: Ask someone to help spray hard-to-reach areas on your back for consistent coverage.
Move through each section patiently, without rushing. Pay extra attention to dry zones like knees, elbows, and ankles—these absorb more product, so use lighter strokes and feather the edges to prevent over-darkening. Before you begin, refresh your memory with this guide on spray tan base coat methods to make sure you’re fully prepared.
When applying a competition base coat, it’s essential that coverage is perfectly even before you proceed. Under bright stage lighting, any missed or uneven spots will be obvious. Double-check your work carefully, especially where different body sections meet.
Special application for face and sensitive areas
Avoid spraying the base coat directly on your face. Instead, use a sponge or makeup brush for a softer, more precise application. Before spraying nearby, protect your eyes, lips, and other sensitive areas with petroleum jelly or a barrier cream. Ideally, apply color to the face on competition day using a brush after lightly moisturizing.
For the delicate skin under your eyes, a Q-tip offers better control and protection. Keep your chin up and your face relaxed to avoid creases. Let the tan dry on your face for 1–2 minutes before moving or touching clothing to prevent smudging and uneven color.
Proper drying time and aftercare spray tan routines are essential for making your color last longer and appear even. Since the DHA reaction continues developing for several hours, it's important to follow specific guidance after your session. Knowing exactly how to manage the hours following your application helps protect your investment in professional spray tanning.
Recommended products


Drying Time and Aftercare for Long-Lasting Results
The first few hours after your spray tan are absolutely critical for achieving a flawless look. How well you follow drying and protection instructions directly impacts your final results. Rushing the process or letting the wet tan come into contact with friction can lead to smudges that are hard to correct.
Immediate Post-Application Care and Clothing Choices
Sunless spray tanning uses a DHA‑based tanning solution that interacts with the skin’s surface to produce a temporary glow. Professionals use either a handheld sprayer or an enclosed booth, and many start by applying a clear spray tan base coat to promote an even, streak-free finish while protecting delicate areas. Because DHA can make your skin more sensitive to UV light for around 24 hours, it’s best to avoid direct sun and use sunscreen after your session. Proper preparation and careful base coat application help produce a uniform tone and reduce the chance of stains or irritation.
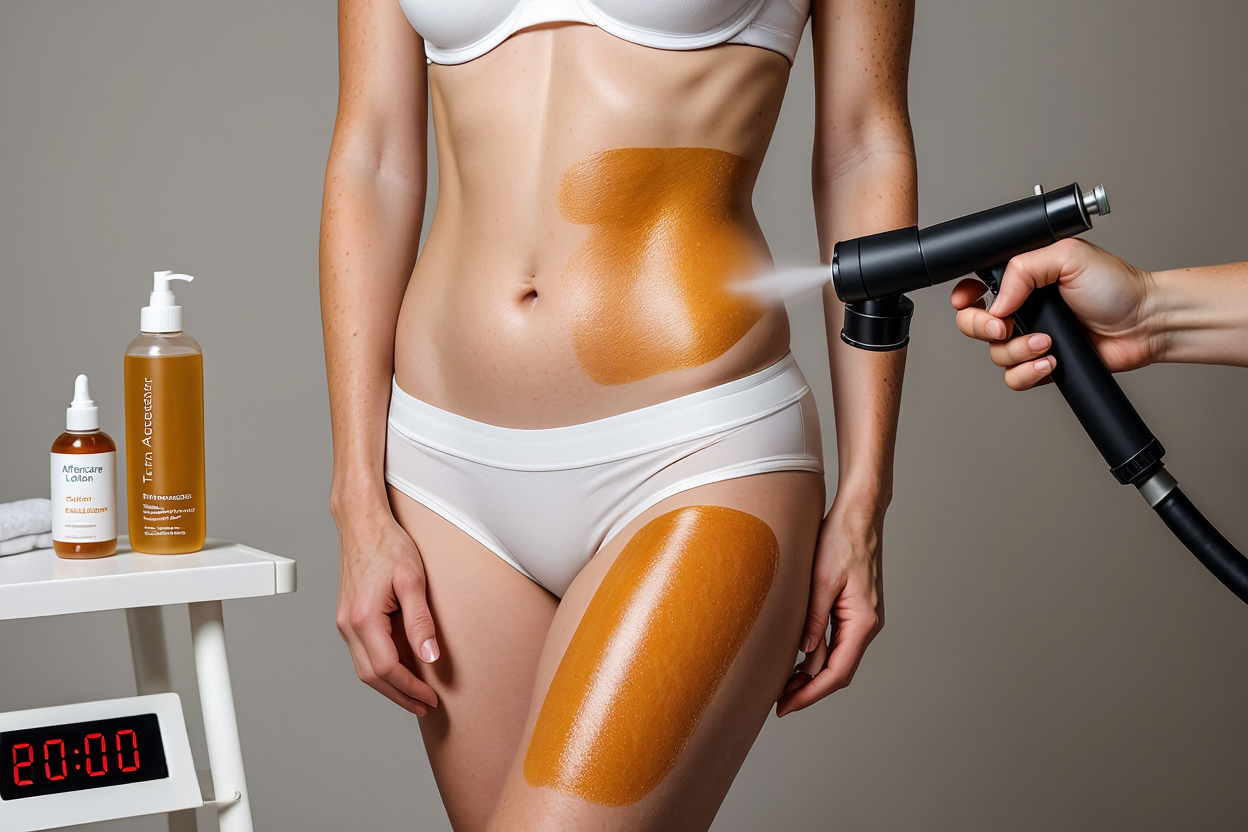
Let the base coat dry naturally for 5–10 minutes in a cool room before you begin to move. Avoid speeding up drying time with hot hair dryers, as this can sometimes cause unevenness. Try to stay still while the mousse sets to prevent color from transferring onto skin folds.
- Cooling environment: A cool room helps the product dry evenly and minimizes sweating or uneven absorption.
- No air circulation: Steer clear of fans or heaters that may dry the solution unevenly and cause streaks.
- Minimal movement: Remain as still as possible during drying to avoid color transfer between skin contact points.
- No sweating: Refrain from activities that make you perspire before the base coat fully sets.
Once dry, put on loose, dark cotton clothing to prevent staining your clothes and disrupting your developing tan. Steer clear of tight items like belts or bags that may rub against the skin and remove pigment. Cotton is ideal because it absorbs moisture and lets you move comfortably without causing friction marks.
| Activity | Wait Time | Reason |
| Shower or water contact | 4–8 hours minimum | Gives DHA enough time to fully bond with your skin cells |
| Swimming or hot tubs | 24 hours | Water can disrupt the tanning solution and fade your color |
| Heavy sweating or exercise | 4–6 hours minimum | Sweat can lead to streaks and uneven patches on damp skin |
| Tight seams or sitting | 30 minutes | Friction marks can form in compressed areas before the base coat sets |
Keep your skin totally dry and shielded throughout the entire drying time. Any unexpected moisture can interrupt the tanning solution and ruin the evenness of your color. Avoid sitting on light-colored furniture or wearing tight clothing until the base is fully dry to prevent creases and staining.
Showering Timeline and First Rinse Best Practices
Wait at least 6–8 hours before taking your first shower. This allows the DHA ample time to react with your skin cells and reach its fullest color. Sticking to this timing is a vital part of aftercare spray tan routines—getting wet too early stops the development process.
When you do shower, use lukewarm water and avoid scrubbing your skin harshly. Gently rinse using just your hands, and skip rough washcloths that might strip away the tan. Pat your skin dry softly with a towel to avoid disrupting your new color.
Moisturizing and Sun Protection After Tan Development
Right after that first rinse, apply an alcohol-free, water-based moisturizer to keep your skin soft and hydrated. Keeping your skin moist helps maintain an even, lasting color and prevents patchy fading. For best results, apply lotion while your skin is still slightly damp to lock in moisture.
- Water-based lotions: Choose formulas without alcohol that moisturize well without creating a barrier that breaks down color.
- Daily moisturizing: Apply lotion morning and night for the next week to help your color fade evenly.
- SPF 30+ sunscreen: Since DHA increases UV sensitivity for a day, use broad-spectrum sunscreen to protect your gradual tan.
- Avoid harsh products: Skip exfoliants for a few days to avoid premature fading.
Avoid pools, hot tubs, and heavy workouts for the first 24 hours to preserve your tan. These activities introduce moisture and sweat that can disrupt the color development. Your tanning product needs this full protection period to ensure lasting, beautiful results.
Frequently Asked Questions
Beginners often spray on too much tanning solution at once, which can cause dark spots and prevent an even dry. Another big mistake is skipping the essential skin prep and exfoliation, which leads to patchy color and uneven absorption. Many people also ruin their tan by taking a shower too soon after the application, cutting short the essential development time.
Failing to properly blend high-absorption areas like knees and elbows often results in dark patches. Wearing tight clothes or sweating before the tan is fully set will almost certainly cause smudging. Finally, an incorrect spraying technique or the wrong distance can lead to drips and an over-saturated base.
The best tanning tips for preparation include completing all exfoliation and hair removal 24 to 48 hours before your spray tan appointment. This gives your skin time to recover from any irritation. On the day of your session, take a shower with a mild, oil-free cleanser to ensure your skin is completely clean and dry.
Avoid using any oils, lotions, deodorants, or perfumes so your skin remains a blank canvas. Wear loose, dark clothing to your appointment to protect the fresh base. Do not apply any makeup, moisturizer, or primer unless specifically advised by your technician, as these can create a barrier.
If some areas are too dark, gently buff them with a damp washcloth or a light exfoliant. For lighter, patchy spots, you can apply a thin layer of tanning solution as a targeted base coat after the initial color has developed. Wait at least 4 to 6 hours after the first application before adding more to avoid over-darkening.
Consider a touch-up application for problem areas like knees and elbows a few days later. Avoid re-spraying your entire body unless the overall color is too light; focus instead on blending the uneven sections. Use light, feathery strokes to help the new color melt seamlessly into the existing base.
Share this article: